Re-Conditioning a Shin Ei Footswitch
Last updated 04/21/23
By Paul Marossy
The original Shin Ei branded DPDT bypass switch in my Shin Ei WT-1 "Companion" wah pedal was suffering from inconsistent, unreliable switching. This
switch is pretty heavy duty and is rated for 6 amps at 250 volts! Being built to last, I was a little perplexed about why it was being troublesome. Had it
been any other wah pedal, I would have just replaced it but I think it's neat because of the little Shin Ei logo on it, and I also thought it would be nice if I
could keep the pedal all original if possible.
After studying its construction and pondering the possibility of re-conditioning it for a while I decided that I would try to fix the
problem by taking it apart, identifying the problem, fixing it and putting it back together. It wasn't that difficult to do and it became
immediately apparent what the problem was when it was dismantled - the grease inside had become very sticky and in some places it was literally
like dried up chewing gum. As I was taking it apart, I thought the design was interesting enough to create a page about it.
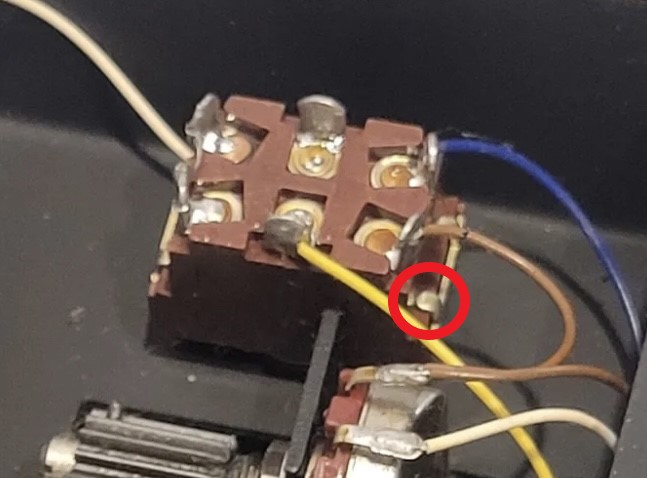
Below is an overview of this interesting bypass switch:
 |
Here is the little Shin Ei logo on the top of the push button. Aside from wanting to keep the original switch I also like the smooth switching action that is has, when it works. |
 |
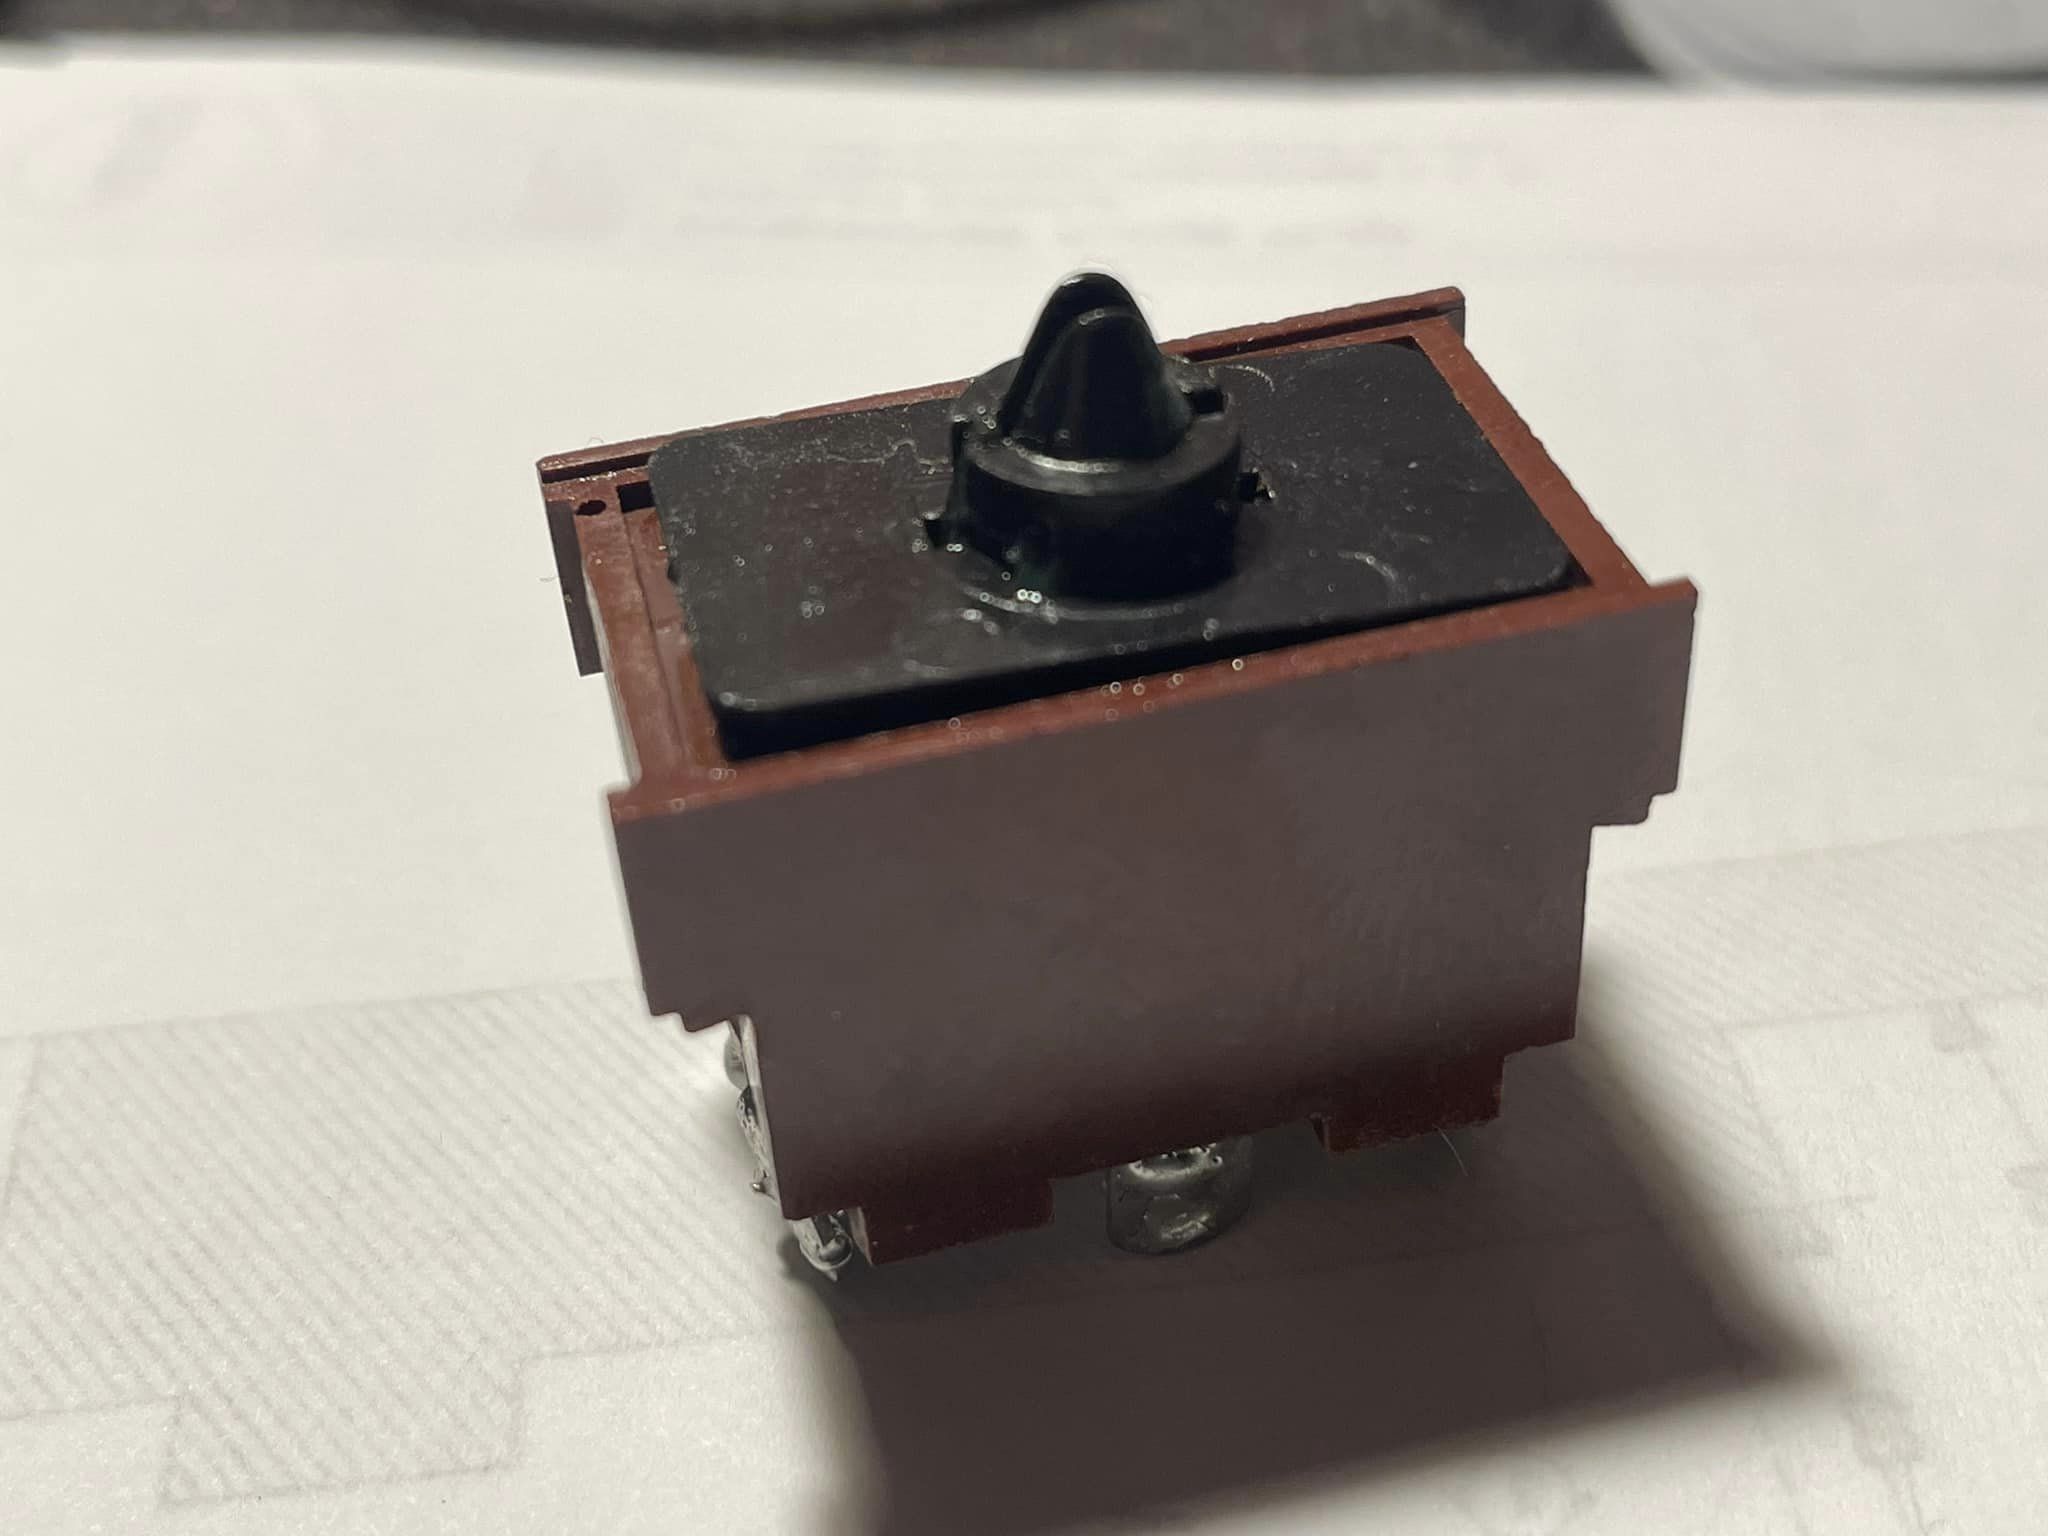
To get the switch apart you have to carefully pry up the four metal tabs that secure the top of the switch to the lower half of the switch. I'm not sure what kind of plastic the bottom half is made of but it seems to be pretty tough stuff. It is better to err on the side of caution while doing this, so you don't crack or break it. It's a little tricky to get something small enough in there to get it started but once you get it going the tabs pry up rather easily. Only lift them as much as needed so they don't break off. |
 |
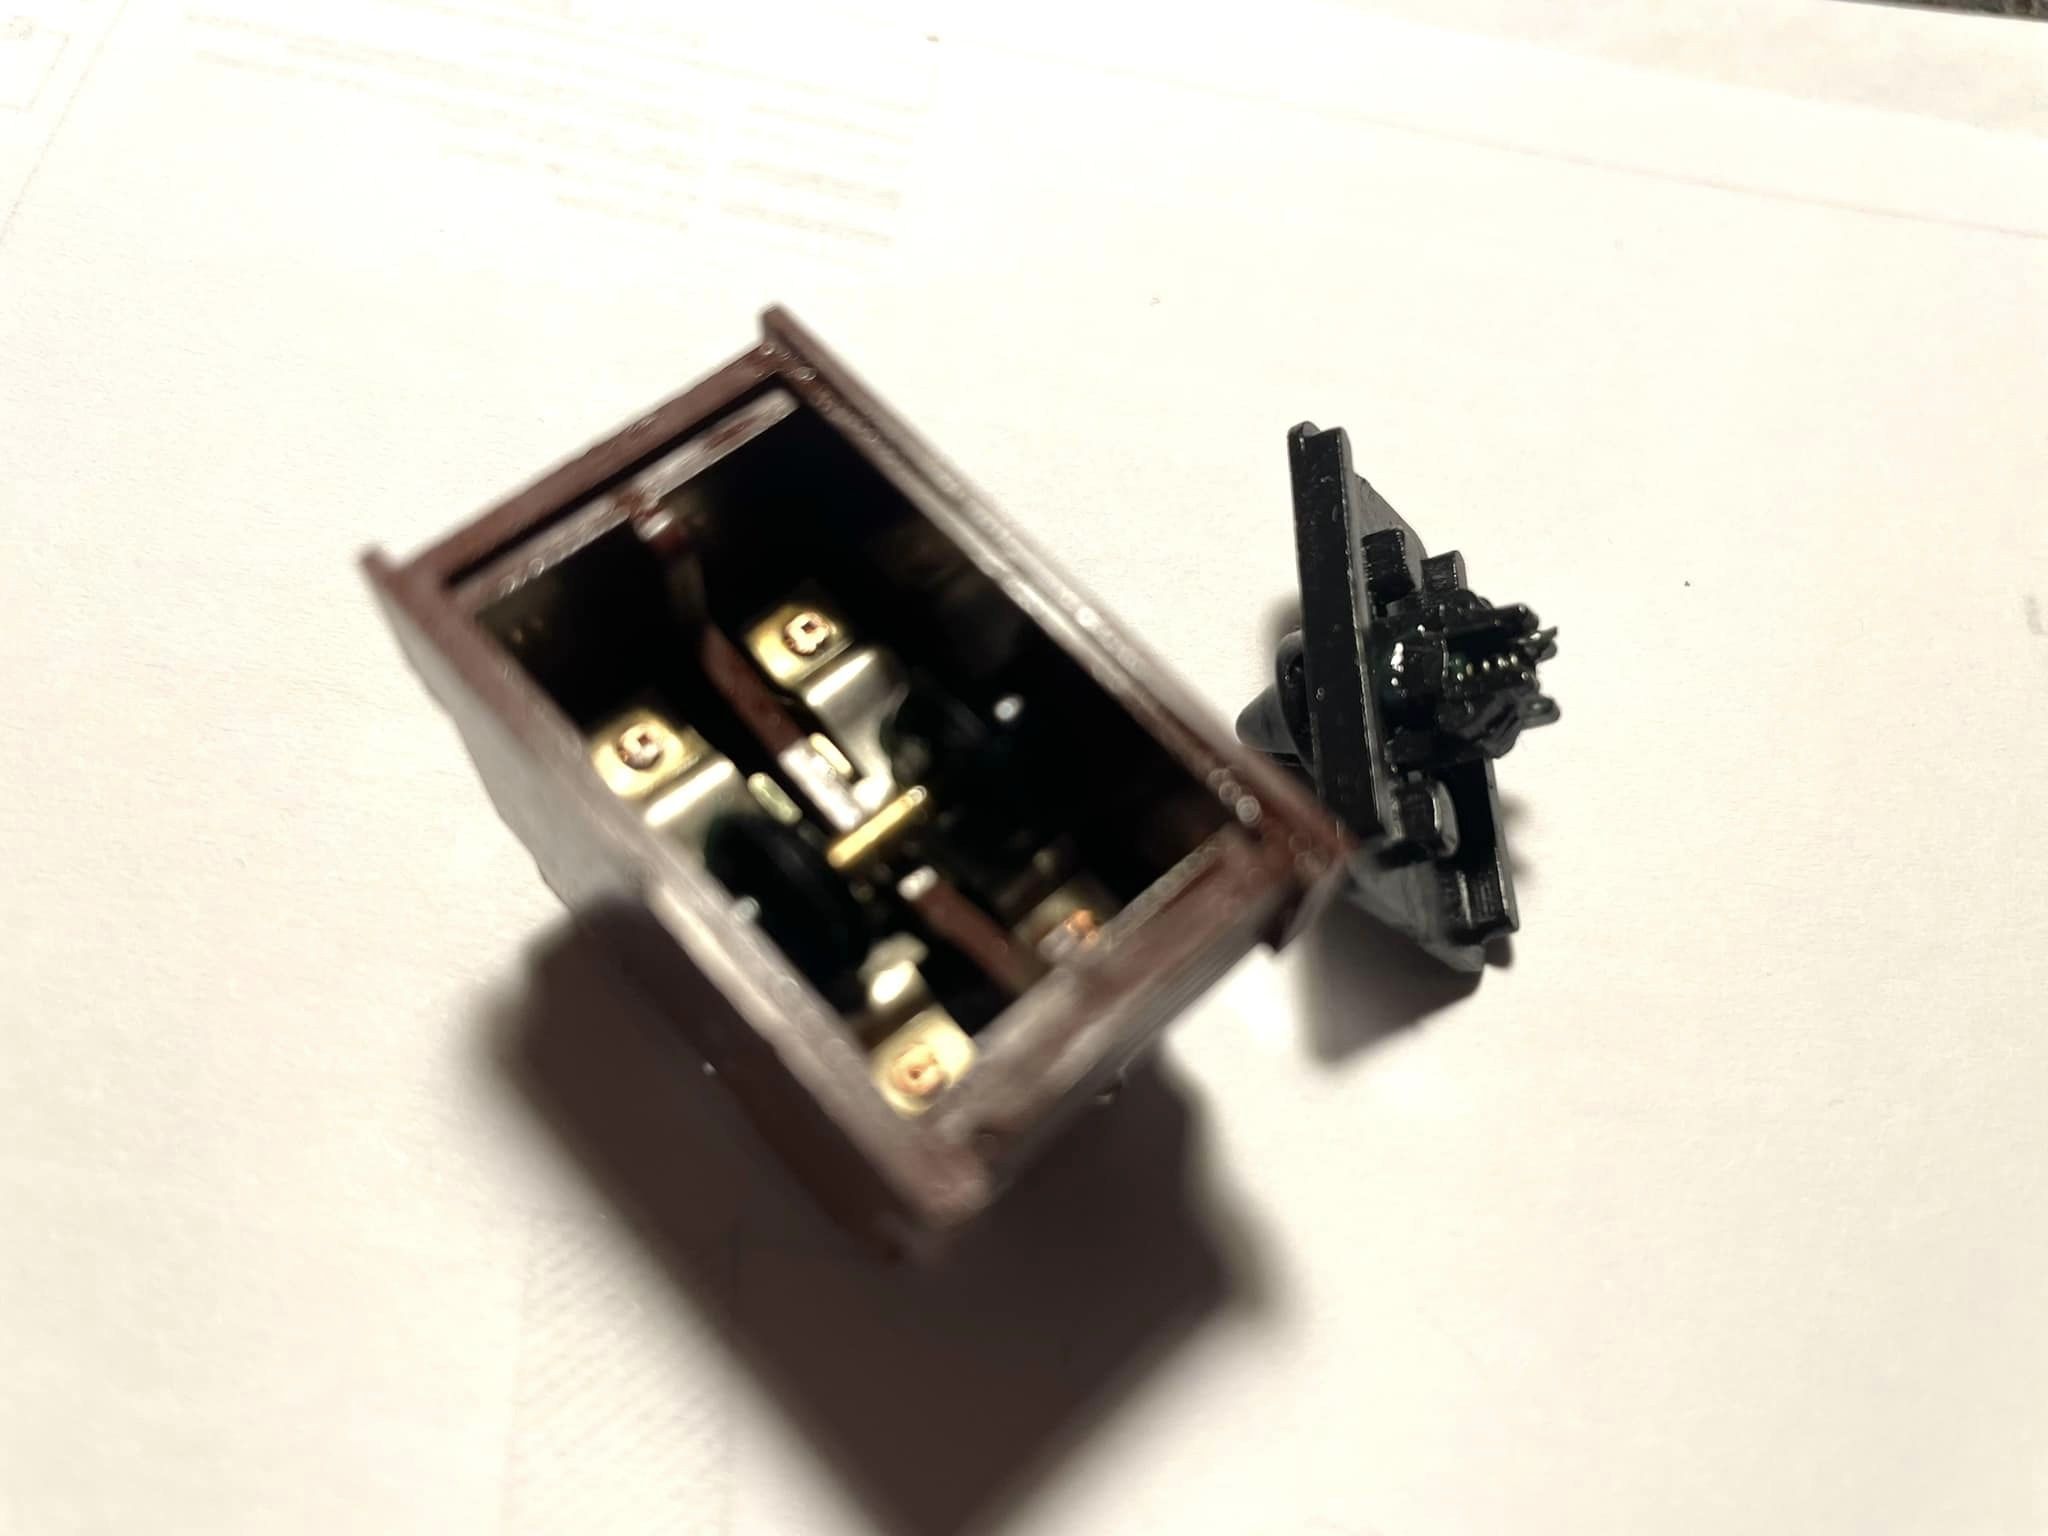
After pressing a small vise into service to remove the top part of the switch containing the push button actuator, it revealed the plastic toggle system that the spring and nail like pin insert into. The spring and actuator pin reside in the pushbutton part of the switch. The little plastic toggle is held in place by its own pin. |
 |
Once this toggle assembly is removed, it reveals a little dumb bell shaped arrangement that presses down on the tilting contacts. The toggling pin in the push button tilts these contacts one way or the other with each press of the button. |
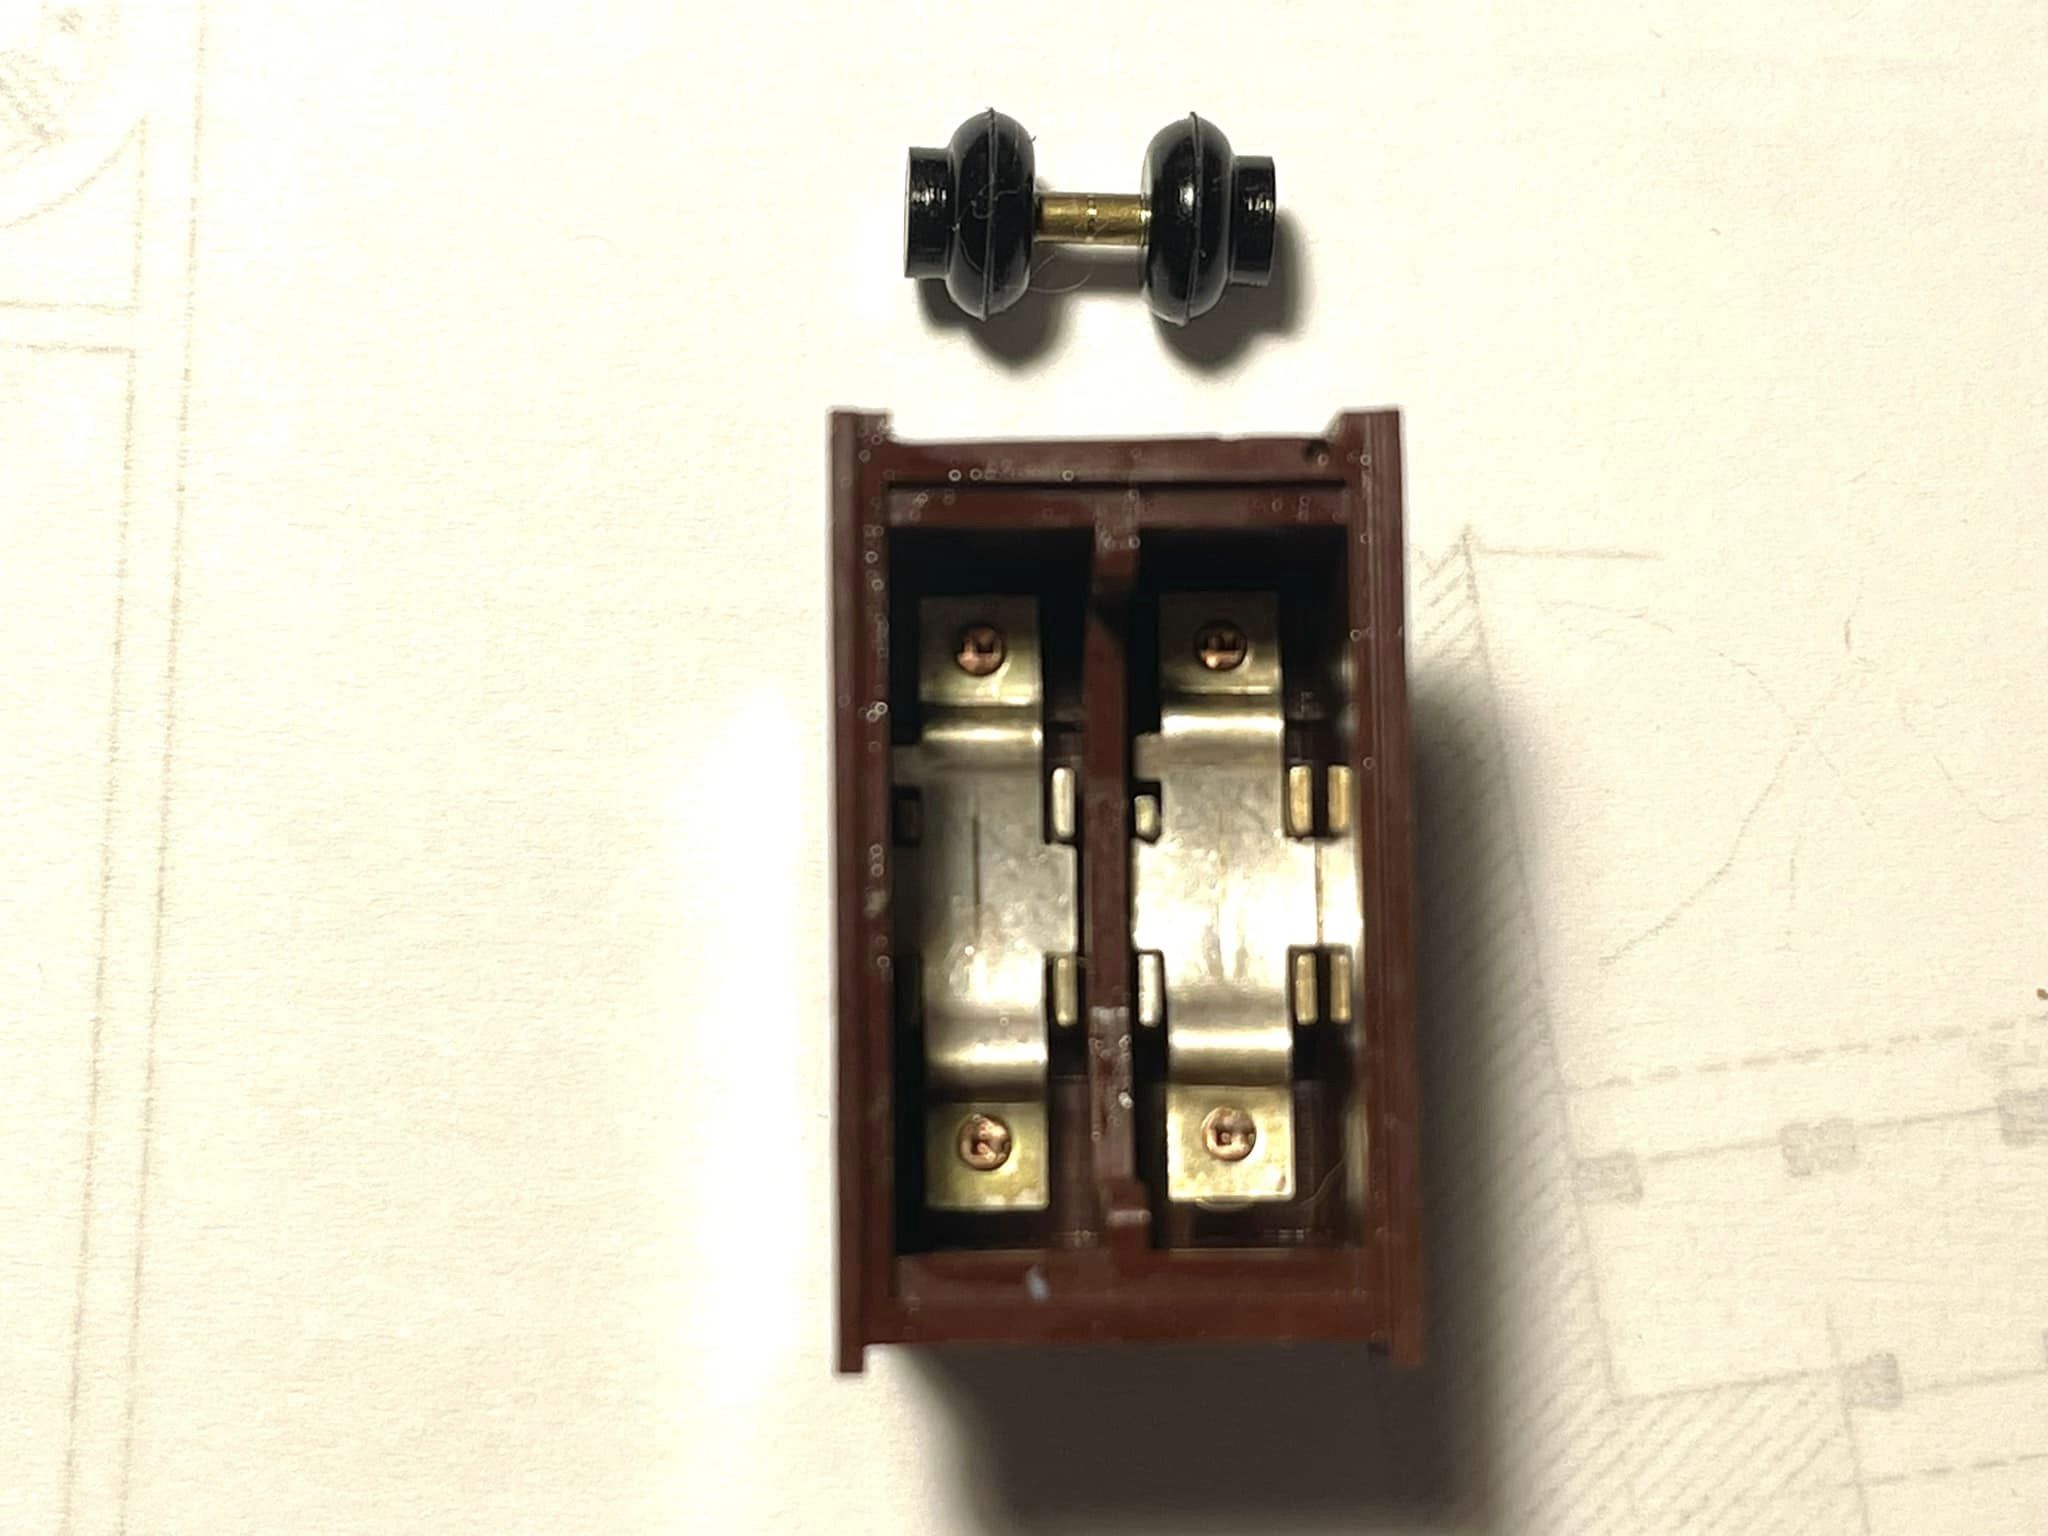 |
Here is a better view of the dumb bell and tilting contacts. The contacts can only be inserted one way by design. |
 |
After thouroughly cleaning and de-greasing all of the parts and contacts, I re-greased and re-assembled it in the reverse order that I took it apart. Make sure you use an appropriate type of heavy duty grease so you only have to do this once. I was surprised that a small amount of the original grease had even made it down into the contacts as well. I applied the new grease very sparingly to avoid that from happening again in the future. |
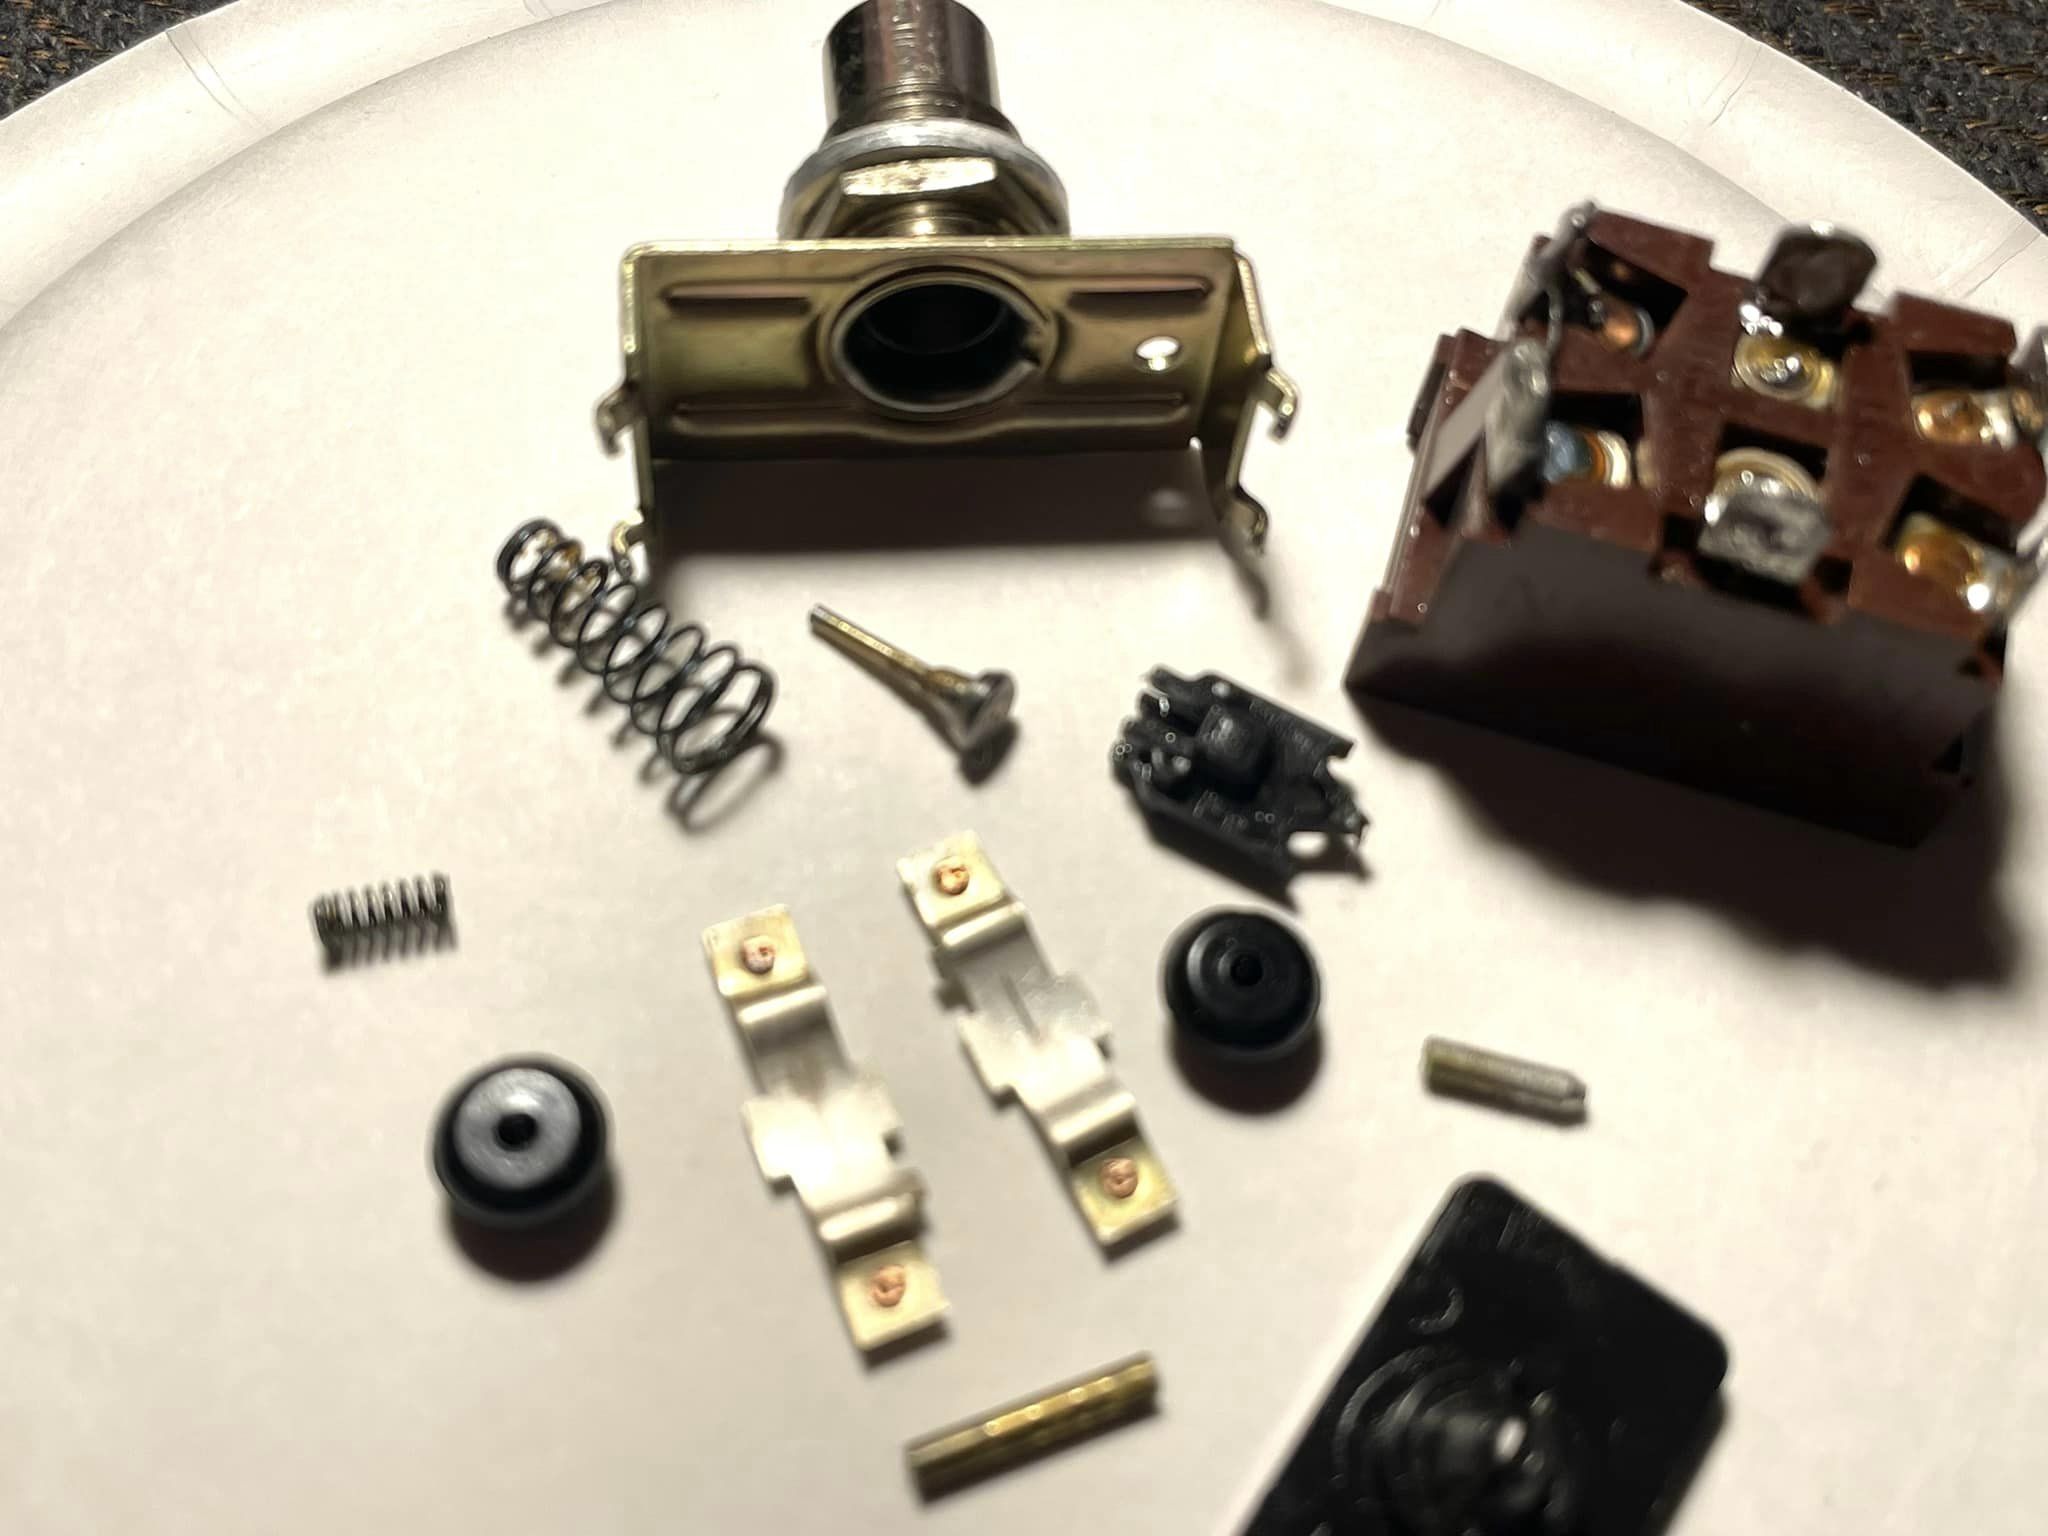 |
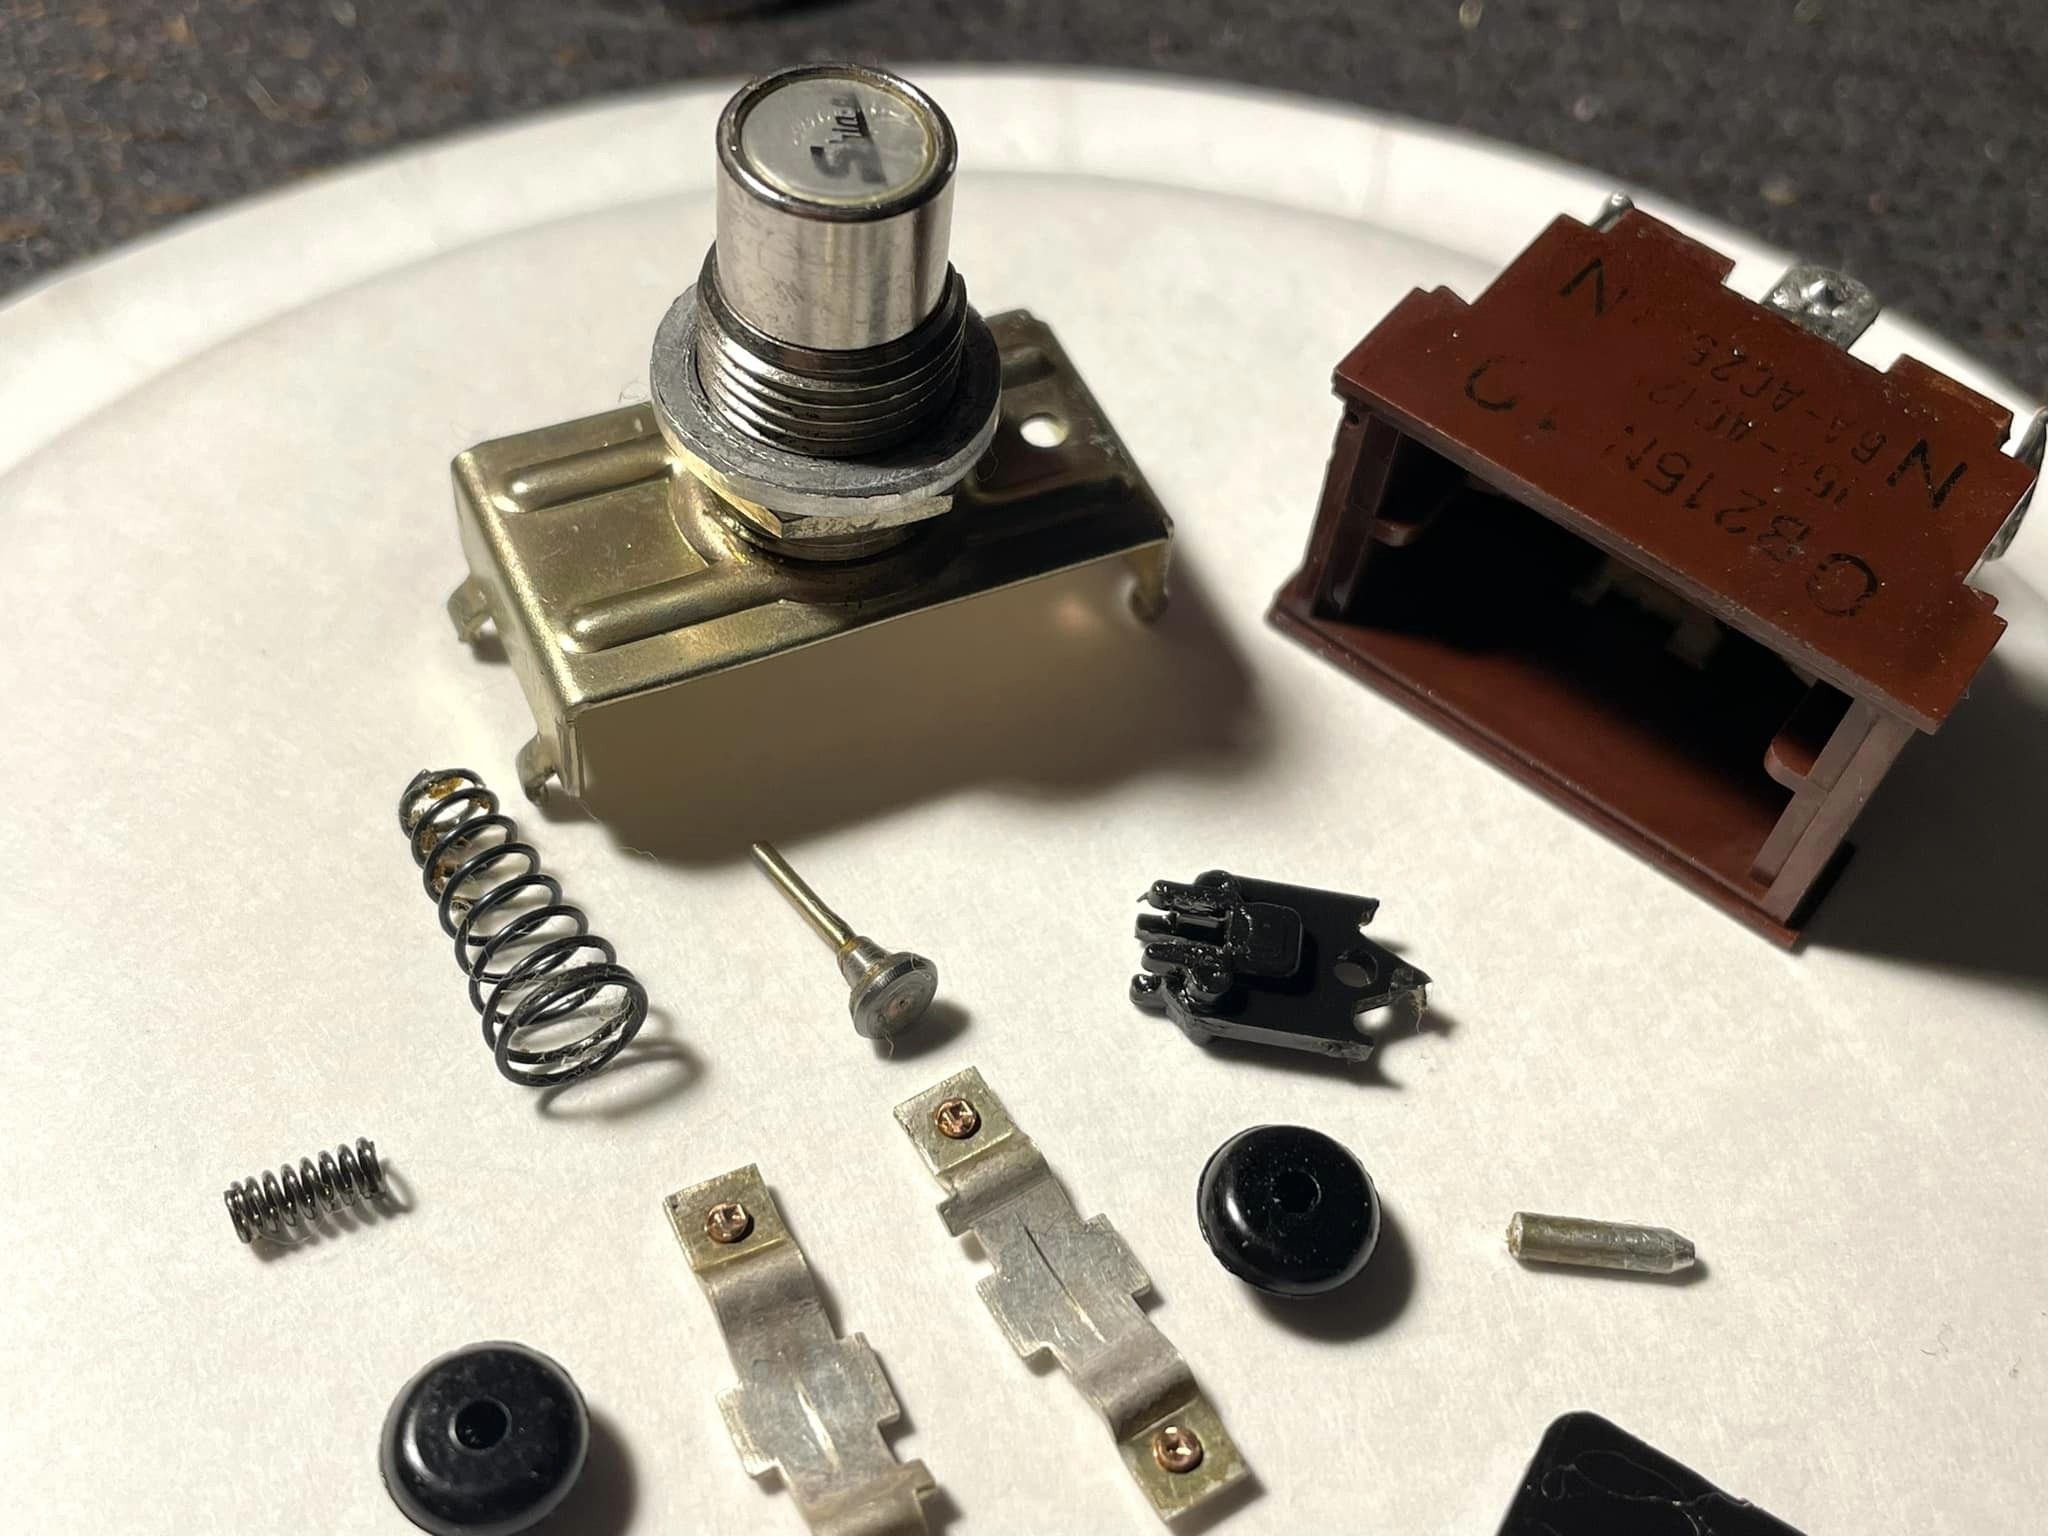
There is a total of 14 components in addition to the two nuts, spacer and washer. Be careful not to lose any of the small parts. I used a small paper plate to keep everything contained in one place, where couldn't roll off the table. I think the design of this switch is very interesting, and once it's working properly it has a very smooth action. |
Having not done anything like this before, it took about an hour to perform this operation. I'd say that I spent a good 20-25 minutes getting the old sticky grease off of the individual components. The spring and actuator pin were the worst, it was literally like very old dried up chewing gum and was difficult to get cleaned up. Maybe some people may think I wasted an hour of my life doing this but I kept the original switch in the pedal and I learned something in the process too. I was intially thinking maybe something was broken inside but it turned out to just be very old sticky grease! I guess that is to be expected after 47-48 years?